
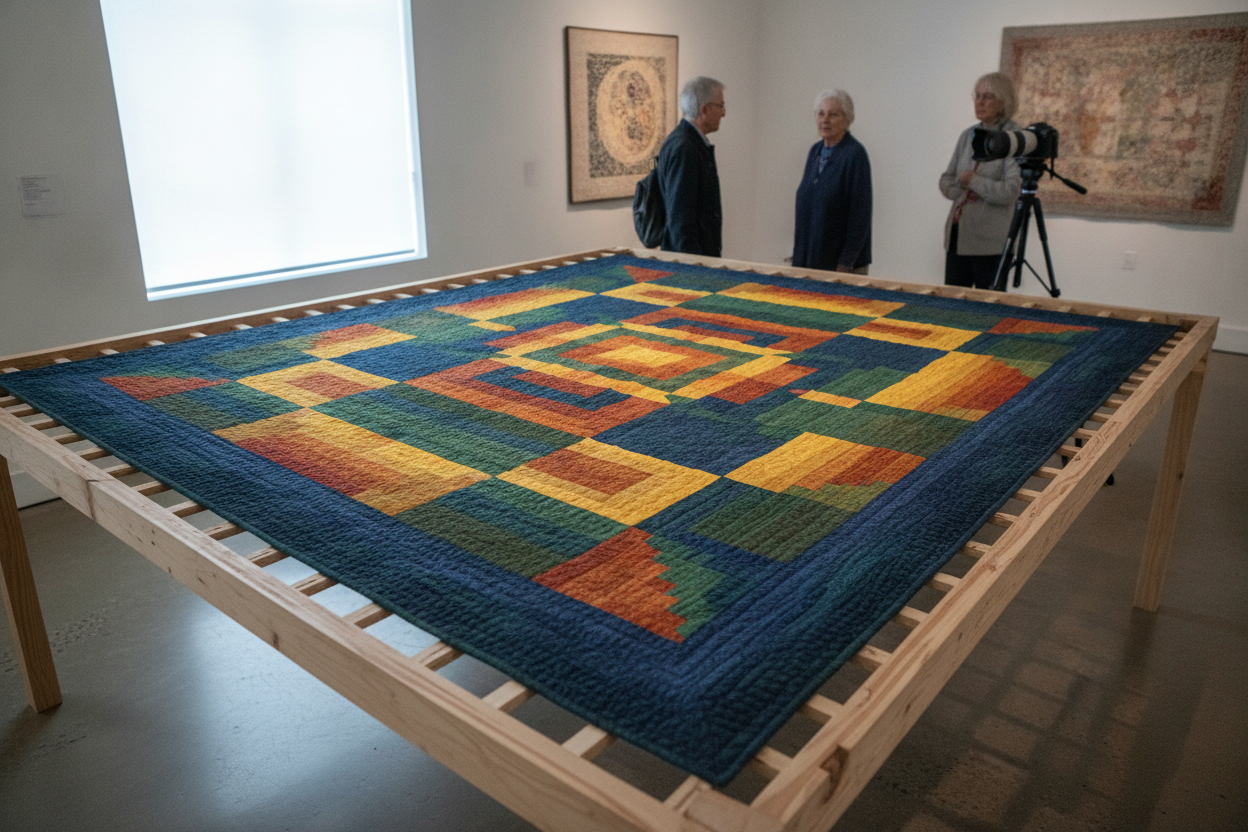
Strong quilt photography helps your work look its best online and in print. Start with natural light whenever possible, because it brings out true color and texture without harsh shadows. A cloudy day, a shaded porch, or a bright indoor space near a window can all work well. If you are photographing a large quilt, hang it smoothly or lay it flat so the design is easy to read.
The background should support the quilt, not compete with it. Neutral walls, plain flooring, or simple outdoor settings usually work better than busy patterns or cluttered rooms. When photographing a quilt for a gallery, take a few wide shots, some detail shots, and one or two images that show scale. This helps viewers understand both the overall design and the craftsmanship up close.
Pay attention to straight lines and edges. Small adjustments in the camera angle can make a quilt appear uneven, even when it is perfectly square. Before taking photos, smooth wrinkles and check that the corners are visible. If your quilt has a lot of texture, use side lighting carefully so the quilting stitches show without washing out the color.
Good photos make it easier to share your work with visitors, students, and potential customers. They also create a professional archive of your progress over time. With a little practice, you can turn each finished quilt into a gallery-worthy image that reflects the care you put into every stitch.
Leave a Reply